T: +86-13715643479
E: contact@jqx-electric.com
E: contact@jqx-electric.com
(Huangwan Industrial Zone, Bianji Location) No.26, Zhouyuanzu Street, Hetang Town, Pengjiang District, Jiangmen City Guangdong Province, China
Views: 0 Author: Site Editor Publish Time: 2025-05-17 Origin: Site


Dealing with a broken light bulb socket can seem daunting, especially when shards of glass and the bulb base are left behind. However, removing a broken bulb doesn’t have to be difficult. By following a few simple safety precautions and using the right tools, you can safely remove the broken bulb and ensure your socket is ready for a new one. Whether you're replacing a burned-out bulb or dealing with a bulb that’s broken inside the socket, this guide provides you with practical solutions to remove the bulb without damaging the socket or injuring yourself.

The first and most important step is to turn off the power before attempting to remove a broken light bulb. Electrical currents can still be running through the socket even if the light switch is turned off. For maximum safety, you should cut the power at the circuit breaker. This is especially crucial for hard-wired fixtures. If you are dealing with a table lamp or plug-in light, simply unplugging the device is sufficient.
You can double-check that the socket is safe by using a voltage tester. This will confirm that the electrical current is no longer flowing, which helps prevent any accidental shocks during the process.
When dealing with broken glass, safety is a top priority. Always wear safety gloves to protect your hands from sharp shards and potential cuts. A pair of safety goggles is also highly recommended to protect your eyes from any flying glass fragments. Even if you don’t expect glass to fly, it’s always better to be safe, especially if you’re working with an old, brittle bulb.
Before starting the removal process, make sure the area around the broken bulb is free of obstacles and debris. This will prevent you from stepping on glass pieces accidentally. It’s also a good idea to place a sheet or tarp beneath the fixture to catch any fallen glass. Keeping your workspace clean and organized is essential for an effective and safe bulb removal.
One of the most common and effective methods for removing a broken bulb base is by using needle-nose pliers. Here’s how to use them safely:
Grip the Metal Base: Start by using the pliers to grip the metal base of the broken light bulb. The pliers’ narrow tips will allow you to get a good grip on the base.
Twist Counterclockwise: Once you have a secure grip, twist the pliers counterclockwise to unscrew the base from the socket. It’s important to apply gentle pressure. Too much force could break the base even further or damage the socket.
Additional Steps: If the filament inside the bulb is broken or if the base is stuck, try inserting the pliers inside the broken bulb’s metal base. Open the pliers wide enough to press against opposite sides of the metal base. Then, continue twisting counterclockwise. This method provides extra leverage and helps you safely unscrew the base.
Needle-nose pliers are an excellent tool for this task because they are versatile, readily available, and easy to use.
If you don't have needle-nose pliers, the potato method can be a great alternative. This method works by using a raw potato to grip the broken bulb base and twist it out.
Cut the Potato: Start by cutting a raw potato in half. Ensure the cut surface is large enough to fit into the socket, but not too large to prevent a secure fit.
Press and Twist: Firmly press the cut side of the potato into the bulb base. Twist it counterclockwise while applying consistent pressure. The potato will grip the bulb and help unscrew it from the socket.
Clean up: Once the base is removed, carefully discard the potato and any remaining glass. It’s important to clean the socket thoroughly to remove any debris or glass shards that might remain.
The potato trick is a useful and inexpensive method, particularly when you don’t have specialized tools available.
A broken bulb extractor is a tool specifically designed for this purpose. This method is ideal when the bulb’s base is stuck or when you need extra help to remove a broken bulb.
Purchase an Extractor: Broken bulb extractors are available at most hardware stores. They are designed to fit into the socket and grip the metal base of the bulb.
Insert and Twist: Insert the extractor into the bulb base and twist counterclockwise. The tool will expand to grip the base securely, making it easier to remove.
This method is particularly useful when dealing with stubborn bulb bases that don’t come off with pliers or other tools. It’s a great investment for anyone who frequently works with light fixtures or needs a specialized solution.
If you don’t have any of the above tools on hand, duct tape can be an effective solution for removing a broken bulb base. Here’s how to use it:
Create a Handle: Take a strip of duct tape and fold it lengthwise to form a strong, sticky loop. The loop should be large enough to fit comfortably around the base of the broken bulb.
Attach and Twist: Stick the duct tape loop inside the bulb base. Once it’s securely attached, use the handle to twist and unscrew the base from the socket.
This method is quick, easy, and effective, especially if you don’t have specialized tools on hand.
Here’s a quick list of the tools and materials that will help you safely remove a broken bulb:
Needle-nose pliers: Perfect for gripping and unscrewing the bulb base.
Raw potato: A quick, tool-free solution for breaking free a stuck bulb.
Duct tape: For creating a secure handle when using the tape method.
Broken bulb extractor: A specialized tool for stubborn bulb bases.
All of these tools are either readily available at home or inexpensive to purchase, making them great solutions for this task.
Once the broken bulb is removed, carefully inspect the light bulb socket for any remaining glass or debris. You’ll need to clean the socket before inserting a new bulb to ensure it’s free of hazards. If you notice any damage to the socket, such as cracks or burns, it may need to be replaced to ensure proper and safe operation.
Broken bulbs should be disposed of carefully to avoid injury. Wrap the glass in thick paper or plastic and place it in a trash bag to keep the shards contained. Dispose of the bulb in a manner that prevents others from getting injured by the broken glass.
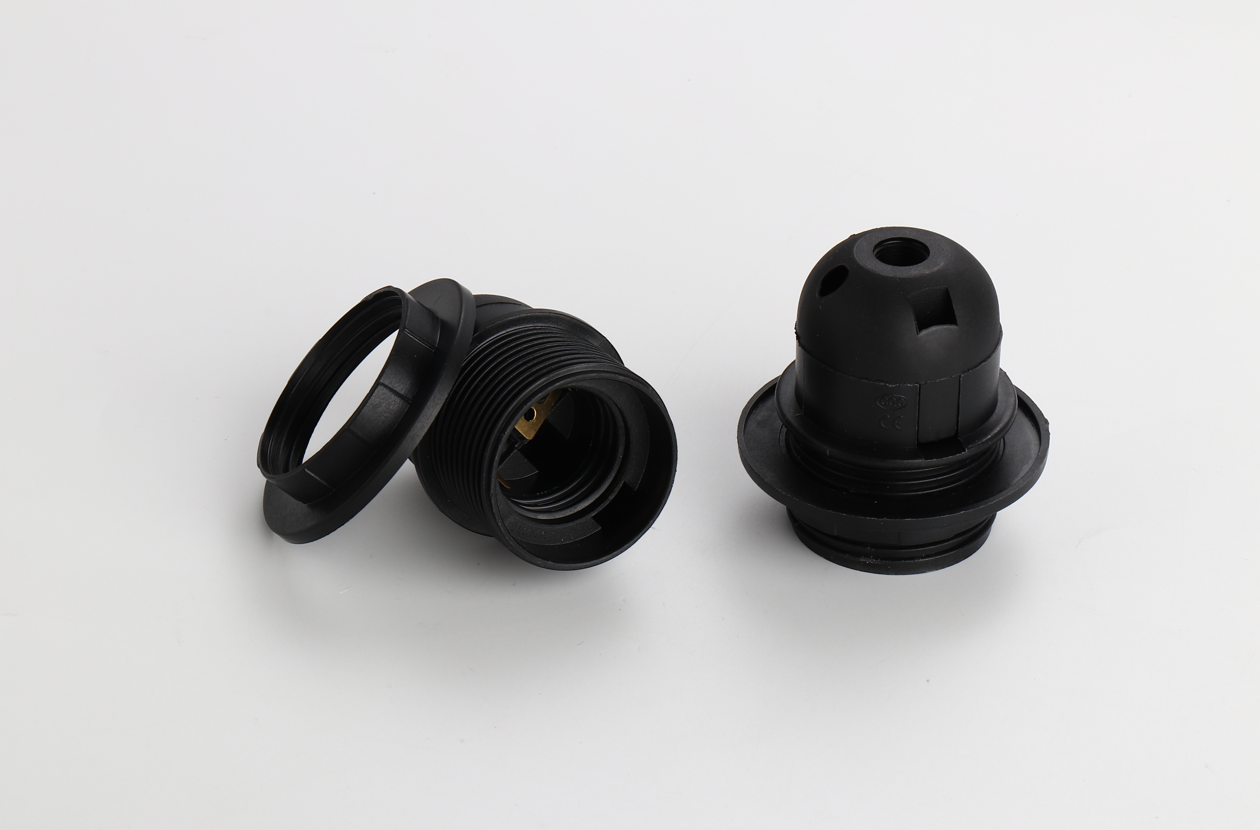
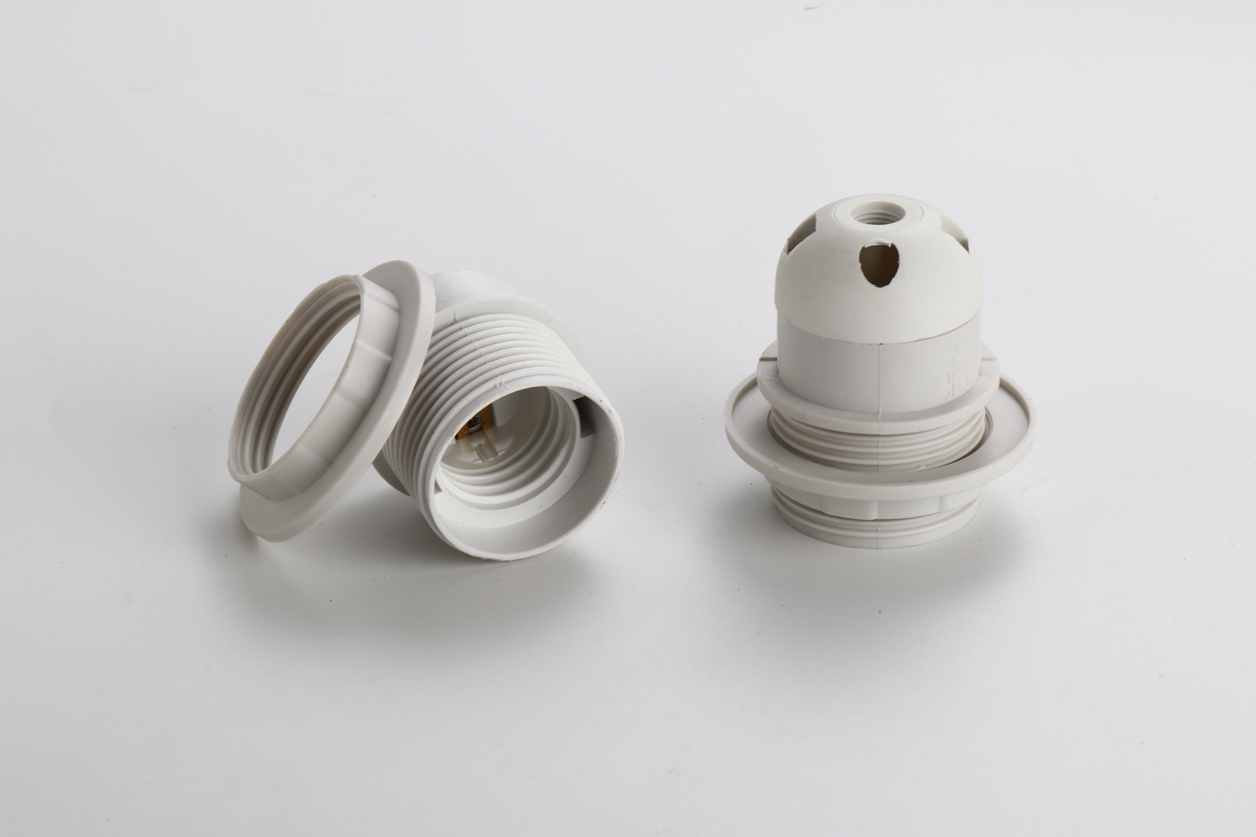
Choosing high-quality, certified light bulb sockets like those from Jiaqixing ensures that your lighting system remains safe and efficient. Our certified sockets are made from durable materials such as ceramic and plastic, which are designed to withstand high temperatures and provide long-lasting performance.
Jiaqixing sockets meet international safety standards, ensuring a secure connection that reduces the risk of bulb breakage and other hazards. Whether you’re working on a simple home fixture or a more complex lighting installation, our certified products provide peace of mind and optimal performance.

Removing a broken light bulb from a socket is an easy process once you know the proper techniques. Whether you use needle-nose pliers, a potato, a broken bulb extractor, or duct tape, the key is to ensure safety and apply the right amount of pressure. Always remember to turn off the power before starting, wear protective gear, and clean the area around the bulb.
For your future lighting projects, make sure to use certified light bulb sockets from Jiaqixing. Our high-quality, durable sockets meet all safety standards, ensuring you get the best performance from your lighting fixtures.
A: To prevent breakage, use lubricant on the bulb threads or upgrade to newer, reinforced bulbs.
A: Yes, as long as the power is turned off and proper protective gear is worn.
A: Use WD-40 or apply gentle heat to the socket, then twist carefully to loosen the bulb.
A: You can still use pliers to grip the base and twist it out. Alternatively, use a broken bulb extractor for a more efficient solution.