T: +86-13715643479
E: contact@jqx-electric.com
E: contact@jqx-electric.com
(Huangwan Industrial Zone, Bianji Location) No.26, Zhouyuanzu Street, Hetang Town, Pengjiang District, Jiangmen City Guangdong Province, China
Views: 0 Author: Site Editor Publish Time: 2025-06-13 Origin: Site


Have you ever experienced a flickering lamp or struggled with a faulty lamp socket that just won’t turn on? If so, you're not alone. A damaged lamp socket is a common issue that can significantly affect the functionality of your lighting fixture. But before you rush to buy a new lamp, it’s worth exploring the option of repairing the socket yourself. Not only can it save you money, but it also gives you the satisfaction of fixing something on your own.
In this article, we’ll take a deep dive into how to repair a lamp socket. We’ll guide you through the process step by step, ensuring you understand the core components of the socket, how to troubleshoot common problems, and what tools are necessary for a successful repair. Whether you're a DIY enthusiast or a first-timer, this guide will help you get your lamp working again with ease.
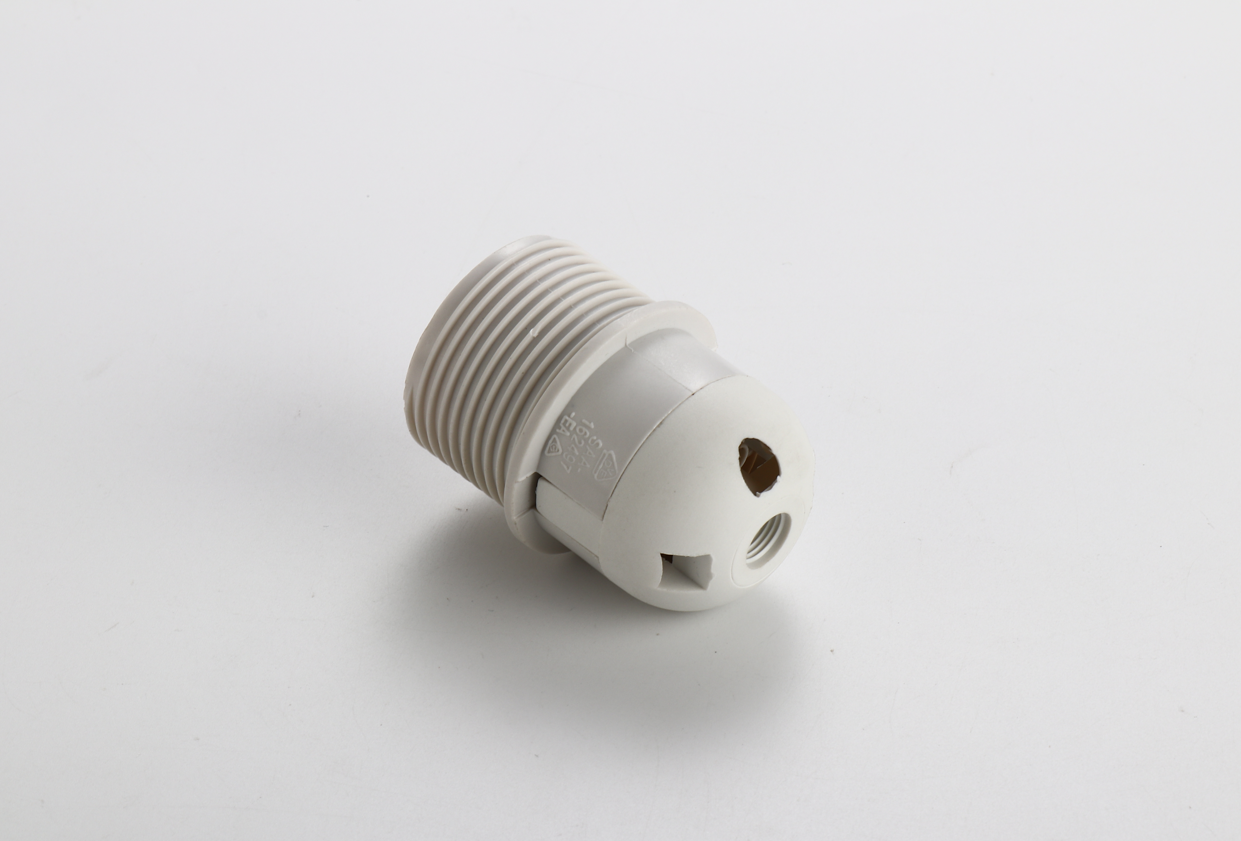
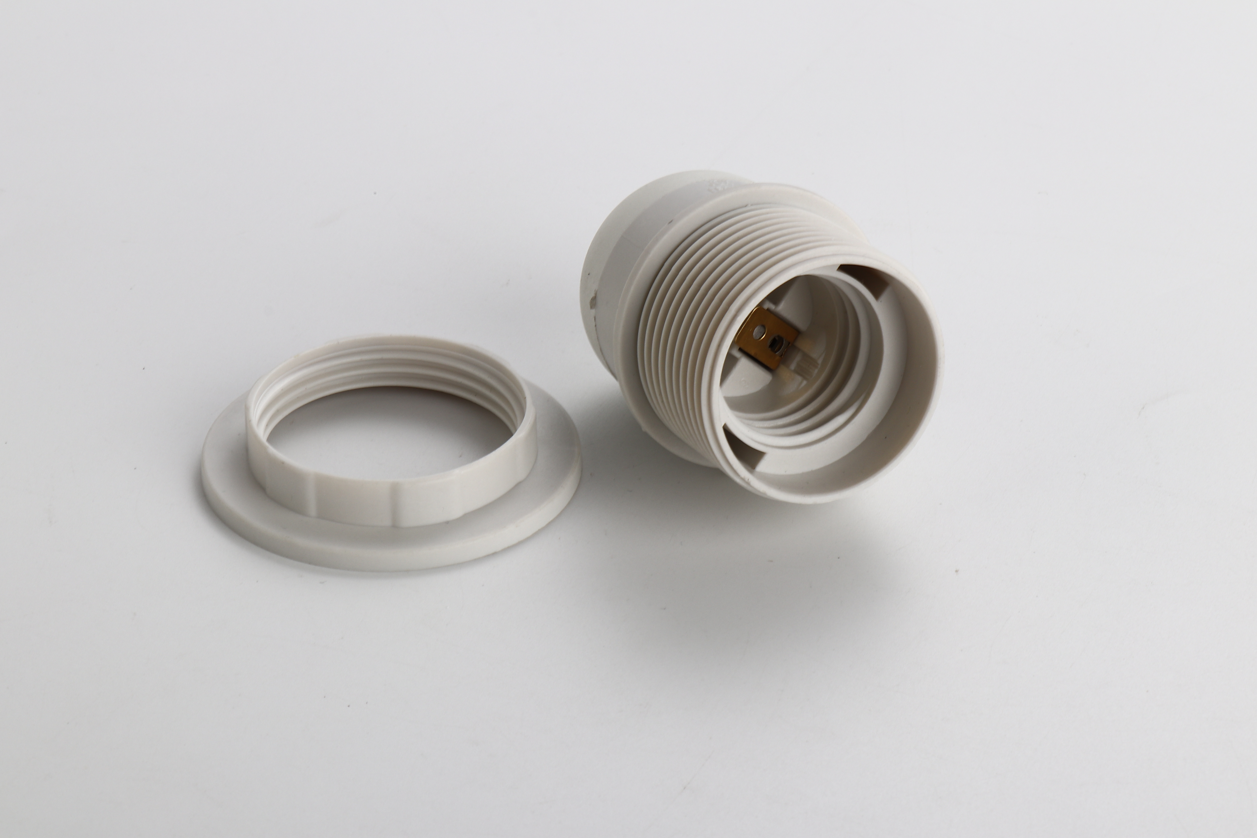
Before diving into the repair process, it's essential to understand the basic structure and function of a lamp socket. The socket is a crucial part of any lamp, acting as the electrical connector between the bulb and the wiring. Lamp sockets are typically made from metal or plastic, with several different designs available, depending on the type of lamp and bulb.
The primary components of a lamp socket include:
Socket Shell: This holds the bulb and is made from either metal or plastic.
Contact Points: These are metal pieces inside the socket that allow the electrical current to flow from the wires to the bulb.
Insulator: This part ensures that the wiring does not touch the metal parts, preventing electrical shorts.
There are several reasons why a lamp socket might fail. Understanding these common causes can help you determine whether the socket needs to be repaired or replaced entirely:
Overheating: Frequent use of high-wattage bulbs can cause the socket to overheat, leading to damage.
Loose Connections: Over time, the connections between the socket and the lamp wires can loosen, causing poor contact and flickering.
Physical Damage: Sockets can become cracked or damaged from drops or rough handling.
Old Age: Like most electrical components, lamp sockets have a limited lifespan and will eventually wear out.

Now that we have a clear understanding of the lamp socket, let's walk through the process of repairing it. With the right tools and a bit of patience, you'll have your lamp socket fixed and back to work in no time.
Before you start the repair process, gather the following tools and materials:
Screwdriver (Phillips or Flathead): Used to remove screws and open the socket.
Wire Strippers: To strip the wire insulation if necessary.
Replacement Socket (if needed): If the socket is beyond repair, having a replacement on hand will save you time.
Pliers: Useful for bending wires and securing them around terminals.
Electrical Tape: For insulation and securing wires.
Continuity Tester or Multimeter: To ensure the socket is properly wired and functioning.
Safety Gloves: To protect your hands while working with electrical components.
Before doing any work on the lamp, ensure that the power is turned off. Unplug the lamp or turn off the circuit breaker to avoid any electrical shock. It's crucial to work in a safe environment, so always double-check that the power is off before proceeding.
Once the power is disconnected, remove the lamp bulb and the lampshade. This will give you full access to the socket and the surrounding area. If your lamp has a decorative feature, such as a globe or finial, unscrew or unfasten it carefully.
Inspect the socket for any visible signs of damage or wear. Look for:
Cracks in the socket shell
Loose or damaged contact points
Discoloration due to overheating
Worn-out insulators
If you notice any of these issues, it may be necessary to replace the socket entirely. However, if the socket is simply loose or the wires need to be reattached, a repair should suffice.
Using your screwdriver, carefully unscrew the socket from the lamp base. Depending on the design of the lamp, the socket may be attached with screws or twist-locked into place. Once removed, carefully detach the wires from the socket terminals. Remember to note which wire goes to which terminal to ensure correct reassembly.
Before attaching the wires to the new or repaired socket, clean the metal terminals using a small wire brush or sandpaper. This will help ensure a good connection. If you're replacing the socket, skip this step and proceed with the new socket.
If you're reusing the old socket or replacing it with a new one, it's essential to attach the wires correctly. Most lamp sockets have two terminals: a brass or gold-colored terminal for the "hot" wire (usually black or smooth) and a silver-colored terminal for the "neutral" wire (usually white or ribbed).
Attach the hot wire (black or smooth) to the brass/gold terminal.
Attach the neutral wire (white or ribbed) to the silver terminal.
Ensure that the wires are securely attached to the terminals, with no exposed metal showing. Use pliers to twist the wires around the terminals, ensuring a tight fit.
Once the wires are securely attached, carefully reassemble the socket by securing it back onto the lamp base. If necessary, use a screwdriver to tighten the screws and ensure everything is in place.
Before replacing the bulb and shade, it's a good idea to test the lamp socket. Plug the lamp back in and turn on the switch. If the lamp works without flickering or any issues, the repair is successful. If the lamp doesn't work, double-check the connections and ensure the socket is wired correctly.
Once the lamp socket is functioning properly, reattach the lampshade and bulb. Make sure the bulb is securely screwed in and that the shade is properly aligned with the lamp base.

Flickering Bulb: This is often caused by a loose connection in the socket. Tighten the connections and ensure the bulb is screwed in properly.
Socket Overheating: If the socket is overheating, it may be due to using a higher wattage bulb than recommended. Replace the bulb with one of the proper wattage to prevent further damage.
Burnt or Discolored Socket: A burnt or discolored socket usually indicates overheating. If the socket is severely damaged, it’s best to replace it with a new one.
Loose Socket: If the socket feels loose, it may need to be tightened or replaced. Check the connections to ensure they are secure.
While repairing a lamp socket is a great DIY solution, there are times when replacement is the only option. Here are a few signs that it’s time to replace the socket:
Severe Damage: If the socket is cracked or melted, it’s no longer safe to use.
Corroded Terminals: If the metal terminals are corroded or rusted, they may not provide a good electrical connection.
Worn-Out Insulator: If the insulator has deteriorated, it can lead to dangerous short circuits.
In these cases, it's better to replace the socket rather than risk potential electrical hazards.
Repairing a lamp socket is a simple and rewarding task that can save you money and extend the life of your lamp. With the right tools and a little patience, you can fix common socket issues such as loose connections, overheating, and damaged terminals. Whether you're dealing with a minor issue or a more significant problem, understanding how to repair a lamp socket is an invaluable skill.
At JiaqiXing, we offer high-quality lamp sockets and other lighting components that ensure safety, durability, and functionality. If you’re looking for reliable and long-lasting lamp parts, check out our range of products and discover how we can help you with your lighting needs.
A: Common signs of a faulty socket include flickering lights, a loose connection, overheating, or visible damage like cracks or burns.
A: The type of socket depends on the size and style of your lamp. Standard Edison sockets (E26) are common for household lamps, but make sure to choose one compatible with your lamp’s wattage and bulb type.
A: Plug the lamp in and turn it on. If the light works without flickering or any electrical issues, the repair is successful.
A: Yes, a damaged or faulty socket can overheat and cause a fire. It's crucial to address any socket issues promptly to prevent potential hazards.